Selling on WooCommerce but need help navigating the maze of sales tax? Unsure if you're following the right protocols and staying compliant in every country? Well then it's great you found this guide!
We have been helping online businesses configure taxes on e-commerce platforms for over 10 years. From all of that experience, we've put our lessons, tips, tricks, and suggestions into this guide – which aims to answer all of your questions about WooCommerce tax.
From sales tax to VAT and GST, from invoices to tax returns, this guide will ensure your store is following all the rules. And we'll show you how a tax plugin can help!
Let's get started.
Consumption Taxes (a.k.a. Sales Tax)
Consumption taxes apply to the purchase goods and services. There are different kinds of consumption taxes, depending on the country. Each type requires something different from you, the business owner.
But one element always stays the same. The end customer pays the tax because they're the one actually consuming the product.
Here are the three most common consumption taxes you'll see while selling on WooCommerce:
Sales Tax
Known as just "sales tax," this is a simple, one-time tax charged at the point of purchase. The money goes from the consumer, to the vendor, to the government: the end. This form of sales tax exists throughout the United States, determined at the state and local levels. (There is no overarching national sales tax in the US.)
Because the states and local jurisdictions can all decide their various rules, sales tax in the US is notoriously complicated… To understand how the system works, check out our guide to US sales tax on digital products.
Value-added Tax
Value-added tax (VAT) is one where the consumption tax is charged at each stage of production. At each stage, the value of the good or service increases. That increase, the "value added," is what's being taxed. The cool thing is that, as a business owner, you're refunded whatever VAT you pay in the production chain. Only the end consumer pays out of pocket.
Typically VAT works like so: you pay some amount of VAT to other businesses who help you make your product. These slivers of VAT are called "input taxes," and you get a tax credit for each one.
With every sale you make, you add the appropriate VAT rate to the transaction. The customer pays you the tax.
At the end of the season, once you've collected VAT from all your customers ("output taxes"), you prepare to send it to the government. But first, you can discount all your input tax from the total, so that money goes back in your pocket.
Learn more about EU VAT for remote sellers.
Goods and Services Tax
A Goods and Services tax (GST) is also levied at every step of the supply chain. But unlike VAT, GST is charged regardless of what value is added; it's usually just a flat-rate percentage of the transaction.
Typically GST works like so: the businesses are charged at each stage of the manufacturing process, and the end customer is charged at the point of sale. The GST is then refunded to everyone through tax credits, except the end consumer.
Tax registration
The first step to handling sales taxes is to know if your store is even liable for taxes somewhere! If you are, then you must register for taxes in that region.
Your tax liability generally comes down to two factors:
- Are you selling taxable products?
- Is there a tax registration threshold, and have you passed it?
Countries and states have their own rules when it comes to which goods and services are subject to sales tax. Once you've determined that what you're selling is indeed taxable, then you need to turn your attention to how much of it you're selling. It's time to look at tax registration thresholds.
What is a tax threshold?
A tax threshold is a certain amount of sales that marks when you must start paying digital taxes. Once your total sales in a country reaches their tax threshold, be prepared to get your tax game on.
On the other hand, if your sales stay below the threshold, that usually means that you don't need to register with the local tax authority, and you don't need to worry about collecting or remitting taxes there.
Not every country has a tax threshold, though. In fact, many places don't! That means that if you make even one sale — if you sell just one dollar or euro or rupee worth of product — then you must register for taxes in that country and comply with all the local tax standards.
Threshold Example: Economic Nexus in the United States
Many states in the US have a sales tax policy called "economic nexus." If your business has economic nexus in a state, that means you earn enough money there to collect and pay sales tax. It's all based on a threshold.
The common threshold is $100,000 in annual sales or 200 separate sales transactions , whichever your business reaches first. (However, exact numbers can vary by state, so it's best to check each state individually.) Once you reach one of those markers, you must register for sales tax. For more detailed info, check out our guide to US Economic Nexus.
How to register for taxes
Most places allow you to register for taxes on your own. Rarely do countries require you to hire a local tax representative.
Furthermore, most places offer tax registration online! This may mean just submitting a form with specific information about yourself and your business, or it could involve creating an account in their online tax portal. Simply check the tax agency website.
Few places still require you to mail in your tax registration application. In this case, be prepared to wait! The wait time varies by country or region, but 2-4 weeks is a good general estimate.
Ultimately, you will receive a tax registration number or tax ID (they go by many different names and acronyms!), which establishes you in that tax system as a legal business. This number tracks your business through the system: the taxes you pay, the tax credits you receive, plus the tax you charge from customers.
Tax Collection
Once you've registered with the tax office, you must consider taxes every time you make a sale. Do you need to collect the tax yourself, or is there a reverse-charge mechanism at play? The answer usually depends if you are selling to a private citizen (B2C) or to a tax-registered business (B2B).
B2C
Essentially, you collect sales tax by adding it to the total of the transaction. When the customer pays you for your product — voila! Taxes collected.
B2B
With business-to-business sales, there are a couple more things to consider. The first is whether you, as the seller, are responsible for charging and collecting tax on the sale. Some places, including the EU and Japan, use the "reverse-charge mechanism." The responsibility for sales tax reverses from the supplier back to the buyer, so that the tax money goes directly from buyer to the government. In these cases, you don't actually add any tax to the total charge. Instead, you indicate on the receipt that you're using the reverse-charge mechanism. (More on receipts later!)
If there's no reverse-charge mechanism, then you add tax to the sale just like B2C.
Also important to note are business tax registration numbers , or Tax IDs. Tax IDs are key pieces of customer information. You should collect them at the point-of-sale and even verify that they're valid tax numbers. If a business gives you a fraudulent tax ID, and you don't collect the right amount of tax from them, then you will be on the hook for that money!
Which tax rate should you apply?
Perhaps the most obvious part about tax collection is applying the correct tax rate, and it's also the trickiest! The trouble is that tax rates vary around the world for all kinds of products.
Some products have different rates within the same country, particularly when it comes to physical vs. digital products. A washing machine is taxed at a different rate than cloud-based software. It gets tedious when you realize a physical book might be taxed at 5%, while an e-Book is taxed at 9%.
Plus, the tax rate can depend on the precise location of the customer (destination-based tax) or the location of your business (origin-based tax). In the EU, the VAT rate is usually based on the location of the buyer. But in the US, there's a mixture of destination-based and origin-based sales taxes, plus layered taxes at the state, city, and district levels. (There are literally thousands of different tax rates in the US. Using an automated tax calculation tool significantly relieves this burden.)
Invoices or tax receipts
First and foremost: you should always issue a tax receipt to your buyer and keep a copy for your records.
A tax receipt is a legal document that records exactly how much consumption tax you're charging and collecting from customers on each transaction. At the end of the tax season, these receipts inform how much sales tax you need to pay forward to the government.
A tax receipt is also used in filing returns if you made a purchase for your business and want to claim it as a tax deduction. Similarly, a tax receipt is what any of your B2B customers use to file their returns, if they want to claim your product as a deduction. So it's important to get this right, to make your life easier and to keep your customers happy.
Since they're legal records, tax receipts must comply with the local tax policies, wherever your customer is based. For example, if you're selling to customers in the EU, you must issue VAT invoices and tax receipts, which have their own quirks and requirements.
What to include in a tax receipt
Since requirements can vary from country to country, the easiest option may be to create a template that includes all the possible information.
A tax receipt should always include the following pieces of information:
- The name and address of the company or customer
- Your business name and address
- Your tax number (VAT, GST, etc., if you or your business is registered in the customer's country)
- A unique invoice reference number that can only refer to the invoice in question
- A date, usually the date the invoice was created
- A list of the products and/or services you've provided. (List these line by line, with a quantity and separate cost for each)
- The amount of sales tax (also known as VAT or GST) for each item — or the total tax amount for the whole invoice, if every item is subject to the same rate
- The total amount of the invoice
- The payment terms, such as how long a customer has to pay, the channel of payment, etc.
To include as much of the above information as possible, you can customize your store's receipts. But these receipts still won't satisfy tax requirements. For a solution to this tedious problem, check out the last section about how Quaderno can help!
How to add tax to WooCommerce
-
Install and activate the Quaderno tax plugin for WooCommerce (WC).

-
Login into your Quaderno account and go to Settings > API. Here you'll find your API credentials.

-
Copy your Quaderno Private key and API URL, and paste them into the relevant fields on your WC Integration page. Click "Save changes" to finalize that.

-
Still in WC, go to Settings > General and activate the option "Enable tax rates and calculations."

-
Save the changes, and you're all done!
-
If you sell digital products or services, there's just one more step. You might know that taxes must be calculated depending on your customers' location in certain regions, like the European Union or Australia. Quaderno can help you calculate these digital taxes automatically. You just need to open your digital products on your WC store and select the option Virtual.

If you ever have any questions, check out our detailed WooCommerce support documentation and bookmark these guides for the future!
WooCommerce tax: pros and cons
The WooCommerce tax capabilities are limited. Certain things, such as calculation and collection, you can set up yourself in your store settings. Other things, such as tax-compliant invoices, aren't included at all.
Let's discuss the pros and cons of 5 elements of the WooCommerce tax compliance capabilities:
- Sales tax collection
- Listing taxes separately from the product price
- No invoices or tax receipts
- No notifications if you've surpassed a tax threshold
- No tax reports to help you file returns
1. Sales tax collection
Tax can be collected for you, but you must configure your store to do it. And once you set it up in WooCommerce tax rates are not automatically applied correctly to every sale.
In our experience, this is a very manual process that the platform itself will not help you with. So in order to correctly configure your tax settings, you must research and double check two main things:
- Which tax rates to put in your store. Use a free tool like our online sales tax calculator.
- and when those tax rates should be charged. Are you registered? Do you need to? Is your customer a business, or a private individual? Take the time to learn about sales tax for e-commerce businesses.
Once you've finished that research, you can follow the platform's instructions for setting up taxes in your store.
It's a bit tricky and tedious… But if you aren't using an automated tax plugin, then these little steps are necessary.
2. Listing taxes separately from product price
You have the choice of including consumption tax in the price of your product, or listing it separately at checkout. Choose wisely. Both risk losing customers if not done correctly.
Combining tax in the overall price could make your products seem more expensive than a competitor's. Waiting to reveal tax at checkout could surprise your customer with an unexpected cost increase, right before the point of purchase. This unpleasant surprise kills conversion rates at the shopping cart; people just click away from the checkout page.
Our recommendation? If you need to charge US sales tax, VAT, or GST on your products, a good practice is to give a heads-up on the product page that tax will be added later. For example, say that the price is $9.99 + sales taxes at checkout.
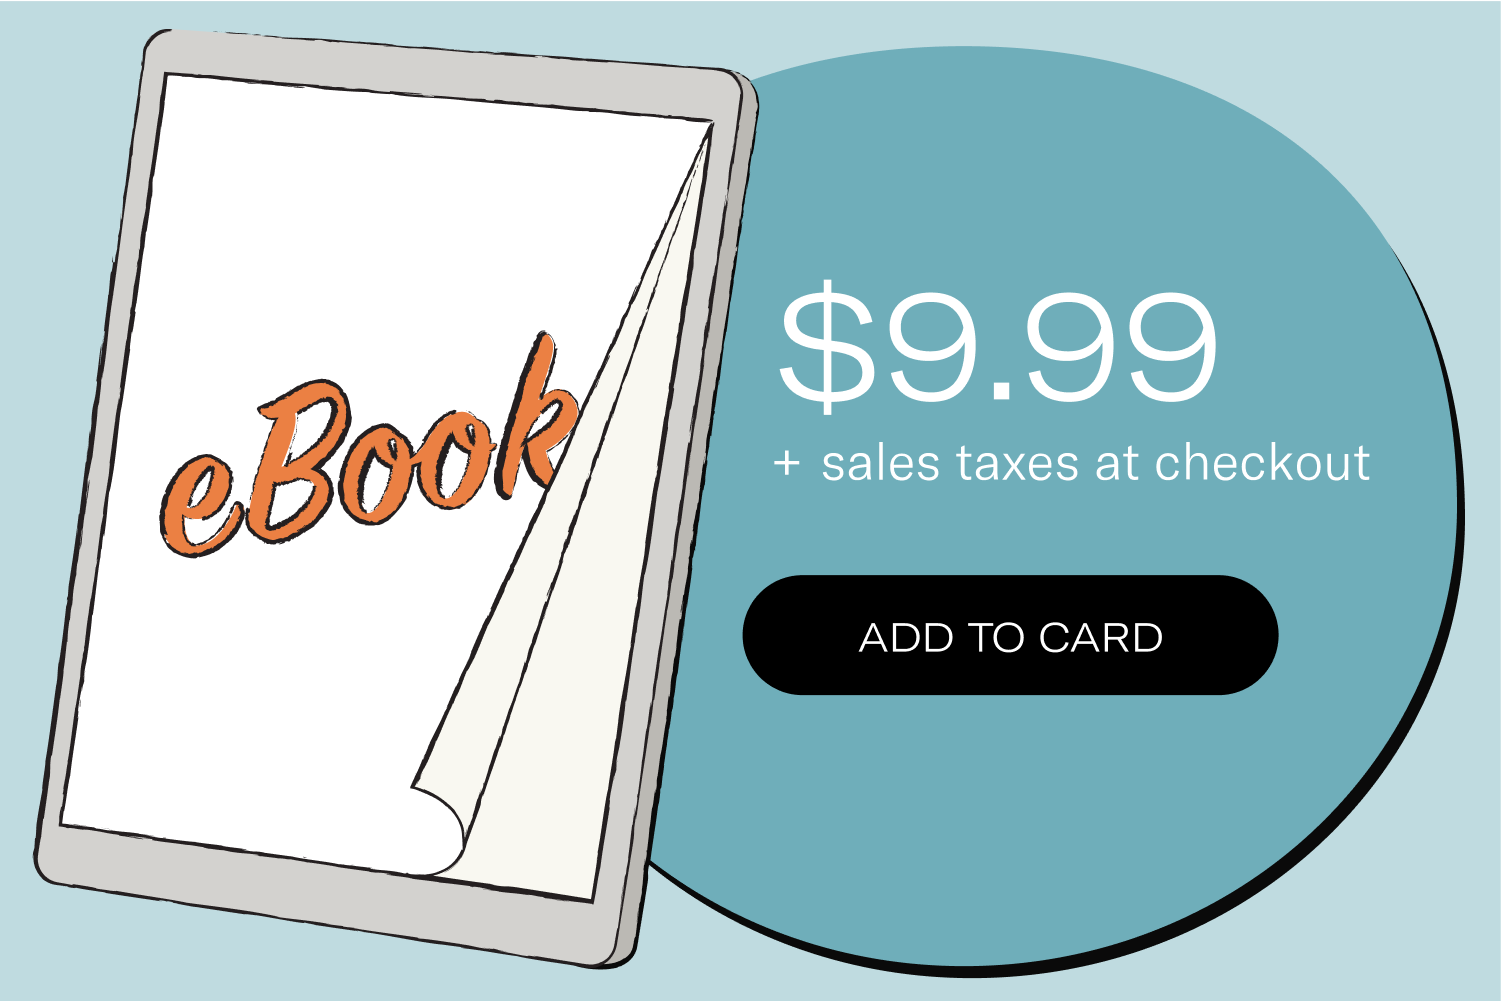
This way the customer knows about a possible cost increase, before she even gets to her cart. And the upside for you is that you can still list your products at the original price!
That said, if you want to go the other route, here are step-by-step instructions for using tax-inclusive pricing in WooCommerce.
3. No invoices or tax receipts
Though the platform does let you customize your store's invoices with your logo and other information, it does not go all the way with tax receipt information. This limitation could be a hassle for you, especially if you sell to a lot of B2B customers.
The easiest way forward would be to use a plugin for automatic tax receipts, offered by a third party. We may be biased, but we think Quaderno's WooCommerce pluginis the perfect solution! Our tax automation plugin calculates tax on every sale and follows up with tax-compliant receipts and credit notes, no matter where your customer is located. Transactions and invoices processed through Quaderno are compliant with ever-changing local tax rules for e-commerce sellers, including US sales tax, EU VAT, and Canadian GST.
4. No notifications if you've surpassed a tax threshold
The platform doesn't notify you when your business becomes liable for taxes in a new place. If your sales take off in a certain state or country, and you pass the tax registration threshold there, you probably won't know it! So you will need to remember the threshold amount in each tax region and manually monitor your sales there.
That's really a waste of your time. An automated tax alert system would do the trick!
5. No tax reports to help you file your returns
The platform doesn't offer tax reports that include all the accurate information you need to file returns quickly and confidently. When tax season comes around, you have to rifle through your sales data to get tax information, to total the sales taxes you've collected, etc.
If that sounds like a headache, that's because it usually is… But again, we know of a pretty great solution. Read on to figure out how to simplify your tax returns in one click.
But there's a solution for automating taxes, if you use the right WooCommerce sales tax plugin.
Four features of a WooCommerce tax plugin
- Automatic invoices
- Automatic tax calculation
- Notifications when you need to register somewhere new
- WooCommerce Sales Tax Filing
1. Automatic invoices
You can send automatic invoices that also comply with local tax rules no matter where you sell. With every sale, Quaderno sends a legally-compliant tax receipt to your customer automatically. These receipts are 100% customizable to reflect your brand, and they can be sent in multiple languages or currencies.
2. Automatic tax calculation
Automatic tax calculations, including throughout the US
With Quaderno's WooCommerce sales tax plugin, charging the right amount of tax is automatic. Every transaction is tax compliant, no matter where your customer is based. The EU? Check. India? Check. California? Check. You never have to worry about collecting the right amount of consumption tax or about keeping the right tax records.
3. Notifications when you need to register somewhere new
Is your business growing, and you're worried about tax liability in new places? Quaderno stays on top of tax registration thresholds for you. The app monitors your sales in each region and notifies you before you hit the limit, so you can prepare your tax registration. Or, if you make a taxable sale in a brand new country that doesn't have a threshold, the app will alert you to register for taxes there ASAP.
4. WooCommerce Sales Tax Filing
Instant tax reports
We mean it when we say instant tax reports! With the click of a button, you can have everything you need for filing a tax return, at a glance. Quaderno collects all the necessary information for filing US sales tax, VAT, and GST — and displays it in a way you can actually understand. You can rest easy knowing that these easy-to-read tax reports are accurate and in real time. Quaderno complies with every little tax rule worldwide, including the United States, Canada, Australia, New Zealand, Singapore, and the EU.
Partners to file taxes for you
If you don't want to file returns yourself, Quaderno has a network of certified tax professionals who can help you with the paperwork.
Four WooCommerce tax plugins to automate sales tax calculations
- Quaderno WooCommerce sales tax plugin
- TaxJar API (for US only)
- AvaTax plugin
- Taxamo by OPMC
Each of these tools will have their pros and cons, too. In our experience helping e-commerce businesses, we learned that when it comes to tax plugins, business owners have 4 common concerns:
- Cost: the price of a subscription to an extra tool
- Coverage: where the tool offers tax compliance (states, countries, and regions)
- Complexity: how simple or difficult it is to set up
- Customer support: how much help you get
Let's look at the 4 tax plugins based on the 4 features mentioned above and these 4 business concerns!
1. The Quaderno WooCommerce – Tax Automation
Quaderno is a tax compliance software that specializes in tax compliance and automatic invoicing for online business – all over the world, no matter where you sell.
The plugin features
- Automatic Invoices: Yes
- Automatic tax calculations: Yes
- Notifications when you need to register somewhere new: Yes
- Instant tax reports: Yes
The business concerns
- Cost: Plans start at $49/month and are based on the volume of business you do. Unlimited integrations included in all plans.
- Coverage: The tool covers 12,000+ tax jurisdictions around the world and is compatible with VAT, GST, and US sales tax.
- Complexity: Setup is very easy. Just tick a few boxes and copy-paste a couple links. You will need to configure your products in the Quaderno app.
- Customer support: Quaderno has extensive support documents to help you with any question, plus top-rated customer service (from real humans!) in multiple languages.
In a nutshell, the plugin will cover the issues that WooCommerce cannot. In fact, Quaderno closes the gap and solves all of youre-commerce tax compliance needs!
2. TaxJar plugin
TaxJar is a tax software that is owned by Stripe and focuses on one main market: the United States.
The plugin features
- Automatic Invoices: No
- Automatic tax calculations: Yes
- Notifications when you need to register somewhere new: Yes
- Instant tax reports: Yes
The business concerns
- Cost: Full service provided at $99/month and above, with only 10 integrations.
- Coverage: The tool covers the 11,000+ tax jurisdictions in the US but does not serve any other countries. Therefore it is not compatible with VAT or GST.
- Complexity: Setup is simple. After installing the plugin, you activate it in TaxJar.
- Customer support: TaxJar has a self-service support center and offers email support.
3. AvaTax plugin
AvaTax is a product of the tax software, Avalara, which is designed for global corporations and enterprises (e.g. Netflix) but also has options for smaller businesses, as well..
The plugin features
- Automatic Invoices: No
- Automatic tax calculations: Yes
- Notifications when you need to register somewhere new: Yes
- Instant tax reports: Yes
The business concerns
- Cost: Avalara is on the higher end of the cost spectrum. The pricing page does not offer a straightforward answer. Different services are billed as separate products.
- Coverage: The tool covers most countries around the world and is compatible with VAT, GST, and US sales tax.
- Complexity: Setup is complex. After installing and activating the plugin, there are several extension settings that you must configure in WooCommerce.
- Customer support: Avalara has a complex support system with different channels and hours of operation, based on which products you use and where you are located.
4. Taxamo by OPMC
Taxamo is a tax compliance product that, similar to Avalara, is designed to serve global enterprise companies such as Salesforce. The Taxamo WooCommerce plugin only serves the European Union VA One-Stop Shop (OSS) scheme and only if you're selling digital products. Learn more about the EU VAT OSS.
The plugin features
- Automatic Invoices: No
- Automatic tax calculations: Yes
- Notifications when you need to register somewhere new: No
- Instant tax reports: Yes
The business concerns
- Cost: Pricing information for Taxamo is hard to find. You must contact support. Once subscribed to a Taxamo plan, you can add the plugin extension for $6.57/month, billed annually at $79.
- Coverage: The tool only serves EU VAT OSS. It is not compatible with US sales tax, GST, or VAT in any country outside of the European Union. It is not compatible with physical products.
- Complexity: After a simple installation and setup, you will need to configure your products in Taxamo.
- Customer support: Support is not run by Taxamo itself, but instead by OPMC, a WooCommerce vendor.
Integrating Quaderno with the other platforms and sales channels you use is equally simple. Our goal is to save you time and spare you stress, so that you can focus on growing your store and keeping your customers happy. Sign up for Quaderno's free trial and see what business is like when we handle the taxes.
If you're already using the Quaderno tax plugin, please consider writing a quick review, so we can reach more business owners like you!
Note: At Quaderno we love providing helpful information and best practices about taxes, but we are not certified tax advisors. For further help, or if you are ever in doubt, please consult a professional tax advisor or the official Department of Revenue.